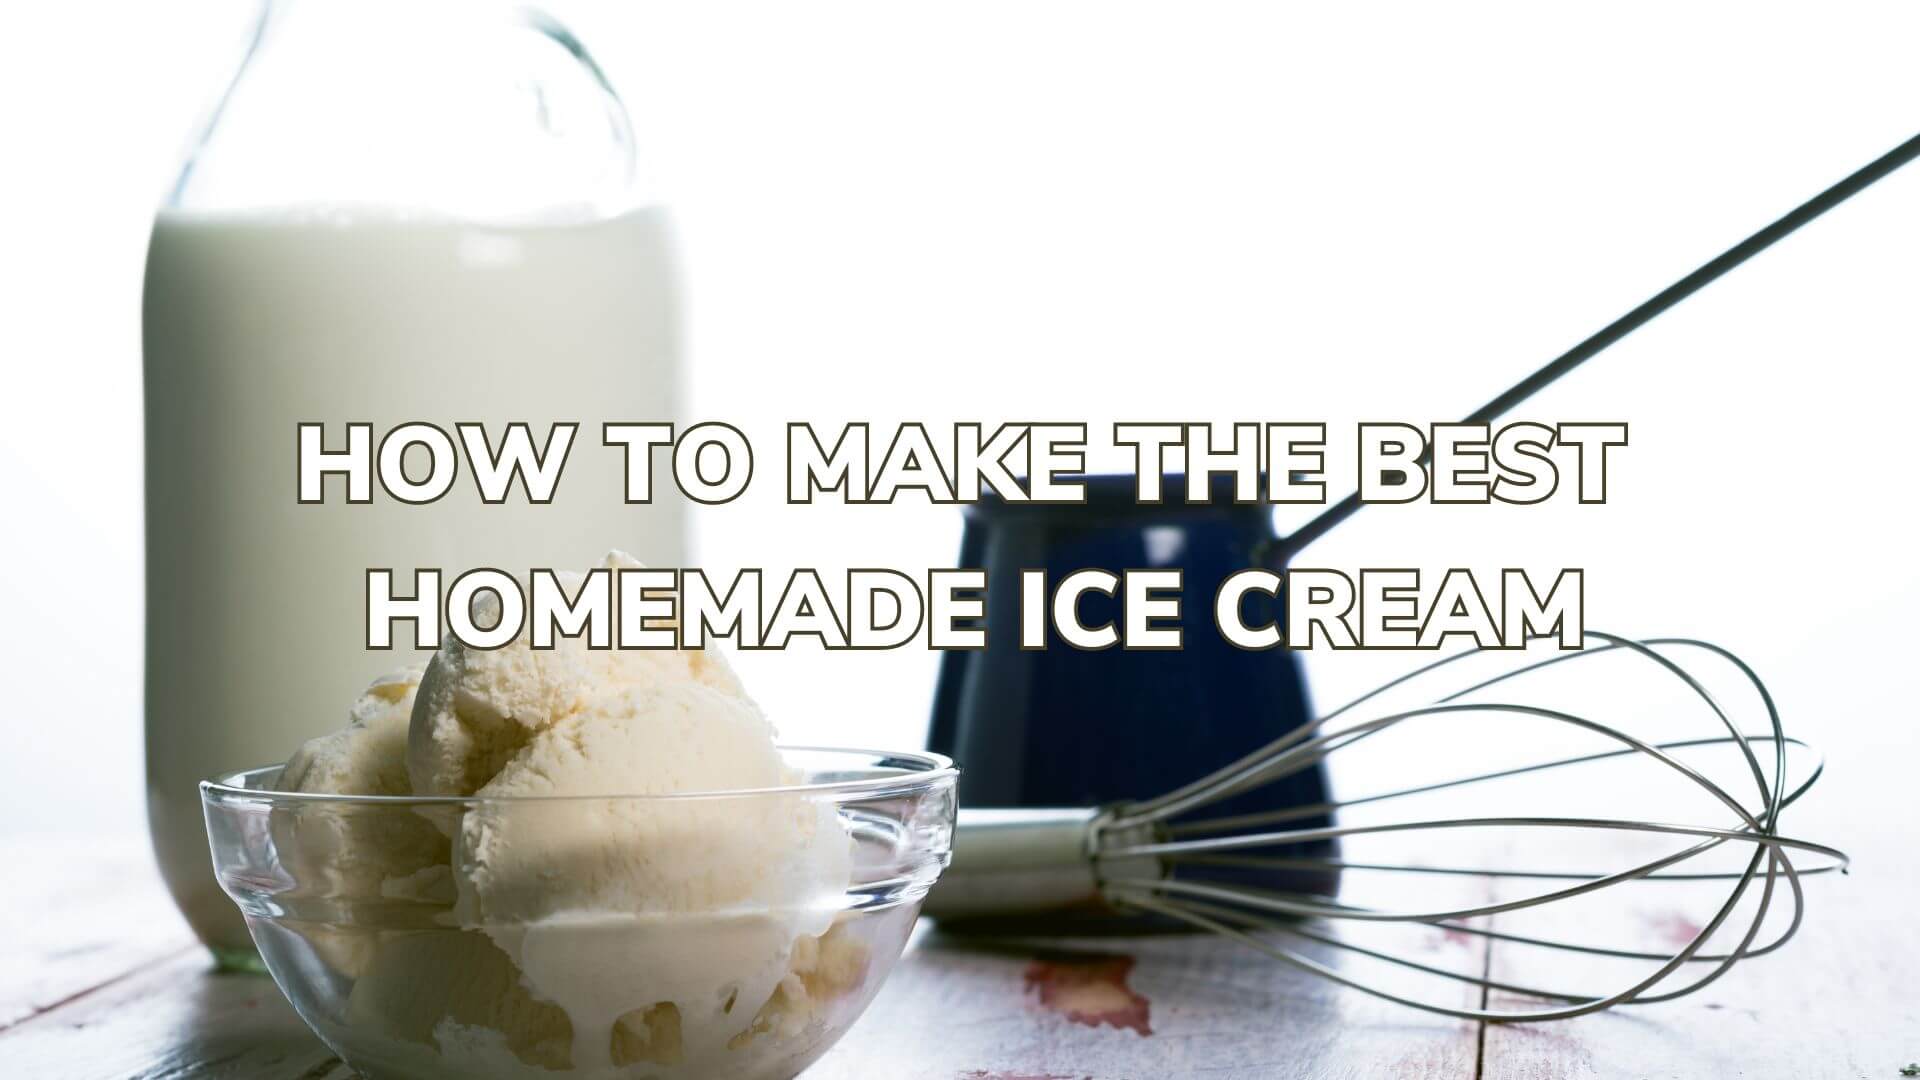
Making homemade ice cream is a fun and rewarding activity, especially in hot weather like summer. Not only is it healthier, as you can control the ingredients, but it’s also a great way to experiment with unique flavours. In this blog post, we will guide you through a simple process on how to make the best homemade ice cream.
BASIC INGREDIENTS

You will need 2 cups whipping cream, 1 cup whole milk, 3/4 cup sugar and 2 teaspoons vanilla extract. If you want to add other flavours or ingredients, such as fruit, chocolate or nuts, prepare them in advance.
INGREDIENT MIX

In a large bowl, combine 2 cups whipping cream, 1 cup whole milk and 3/4 cup sugar. It is important to use a bowl large enough to allow for proper mixing of all ingredients. Using a hand mixer or whisk, beat the mixture on medium speed until the sugar is completely dissolved. This process may take a few minutes, so be sure to beat well so that the ice cream is free of undissolved sugar grains. Once the mixture is smooth and homogeneous, add 2 teaspoons of pure vanilla extract to further enhance the flavour of the ice cream.
COOLING THE MIXTURE
This part is very simple, cover the bowl with plastic wrap or cling film, making sure it is well sealed to prevent it from absorbing odours from the fridge. Place the mixture inside and chill for at least 2 hours, or until well chilled. This step is crucial, as chilling the mixture helps improve the texture of the ice cream, allowing it to freeze more evenly and smoothly. In addition, a well-chilled mixture churns better, resulting in a creamier and more delicious ice cream.
FREEZE AND WHISK
Pour the cold mixture into an ice cream machine and follow the manufacturer’s instructions for churning and freezing. If you do not have an ice cream machine, place the mixture in an airtight container and freeze. Churn the mixture every 30 minutes for the first 2-3 hours to prevent ice crystals from forming.
ADD EXTRAS

If you plan to add additional ingredients, such as fresh fruit, chocolate chips, nuts or other toppings, it is important to do so at the right time to ensure even distribution and maintain the texture of the ice cream. Once the ice cream base is almost set but still soft, remove it from the ice cream machine or freezer. Carefully stir in the additional ingredients, mixing them in with a spatula or wooden spoon. This time is ideal because the ice cream has a thick enough consistency to keep the ingredients evenly distributed without sinking to the bottom.
FINAL FREEZING

And here comes the last and best part. Transfer the churned ice cream to an airtight container, making sure to use a spatula to scrape the entire contents of the bowl or ice cream machine. When doing so, be sure to distribute the mixture evenly within the container to facilitate even freezing. Put the lid on tightly to prevent the formation of ice crystals and the absorption of odours from the freezer. Then place the container in the freezer and let it stand for at least 2 more hours, or until the ice cream is completely firm. This additional freezing time is essential to achieve the right texture and ensure the ice cream is ready for the best part – serving and enjoying!
Making homemade ice cream is easier than it sounds and offers a delicious reward. By following these simple steps, you can create creamy, personalised ice creams that will impress your friends and family. If, on the other hand, you’re someone who likes to have it done, visit Font Del Llop Terraza and enjoy the best food and desserts that won’t leave you indifferent. We’ll be waiting for you!
